Section 13 - Backup / Restore VMware Virtual Machines
This section describes how to backup and restore virtual machine running on VMware.
13.1.8 How to restore raw VM files (non-VDDK mode)
The restoration option will restore all the VM files to a destination.
These files or the individual virtual disk file can be restored to the original VM, or to be added to a new VM.
Table of contents:
13.1.8.1 How to restore raw VM files/individual virtual disk to a different VM
Back to top
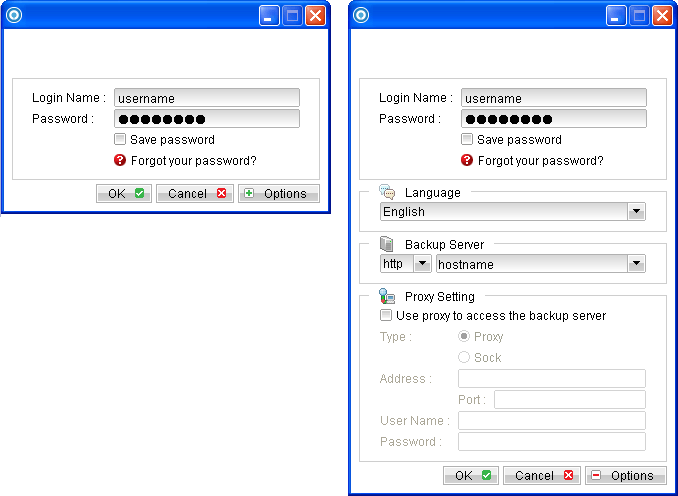
- Login to the backup application's user interface.
For backup client computer on Windows, double-click on the OBM desktop icon or right-click on the system tray icon:
 For backup client computer on Mac OS X, double-click on the OBM desktop icon.
For backup client computer on Linux, enter the following command to start the OBM graphical user interface:
For backup client computer on Mac OS X, double-click on the OBM desktop icon.
For backup client computer on Linux, enter the following command to start the OBM graphical user interface:
# sh /usr/local/obm/bin/RunOBC.sh &
- Select the [Restore] button and the corresponding backup set.
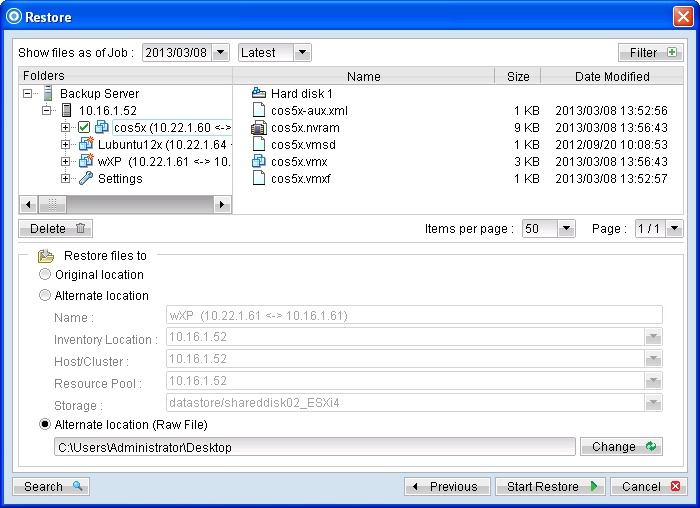
- Select the virtual machines to be restored and choose [Alternate location (Raw Files)] for restore files to.
- Click on the [Change] button and browse to the directory path which you would like to restore the data to.
- Click the [Start Restore] button to begin the restore process.
All the raw files will be restored to the destination folder.
You can store or transfer the files to another hypervisor for other purpose.
You can check with previous steps if you need to restore these VM files to another hypervisor.
- When the restore process is completed, open VMware vSphere Client to import the hard disk file to a VM.
- Under the inventory, powers down the corresponding virtual machine to be restored to.
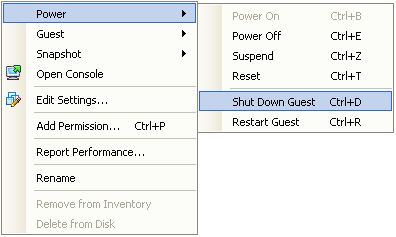
Right click on the corresponding VM, and select [Edit Settings].
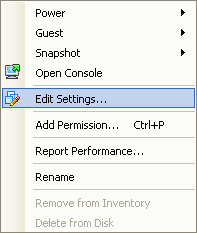
- Select [Add] to add the newly restored virtual disk.
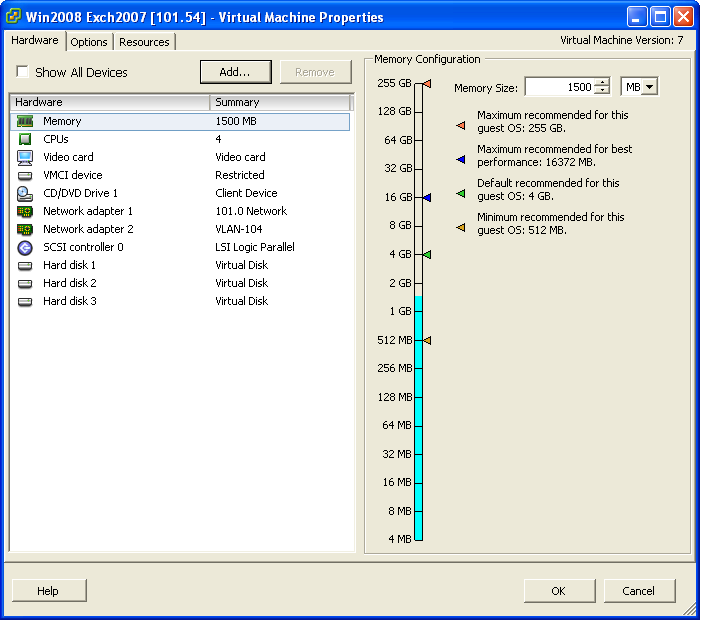
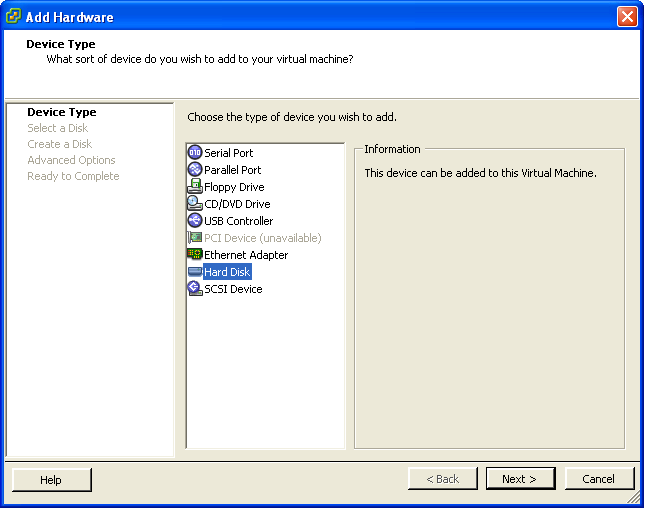
- Select [Hard Disk] and then [Next].
- Choose the option to [Use an existing virtual disk].
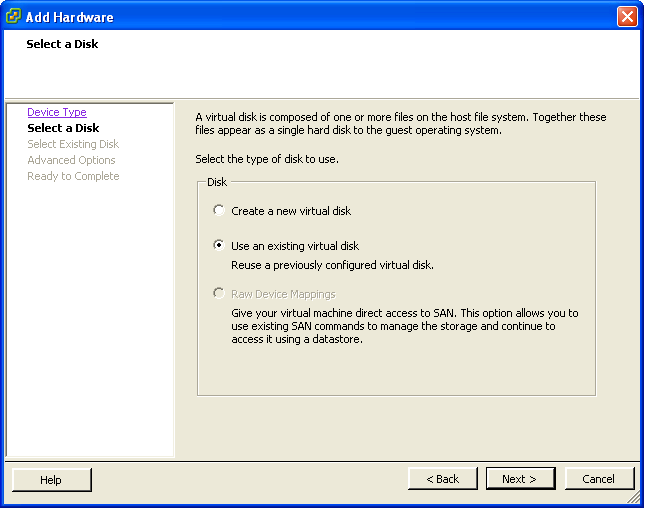
- Click [Browse] and browse to the newly restored virtual disk.

- Follow the instruction provided in the [Add Hardware] menu.
- Start the virtual machine.
Back to top